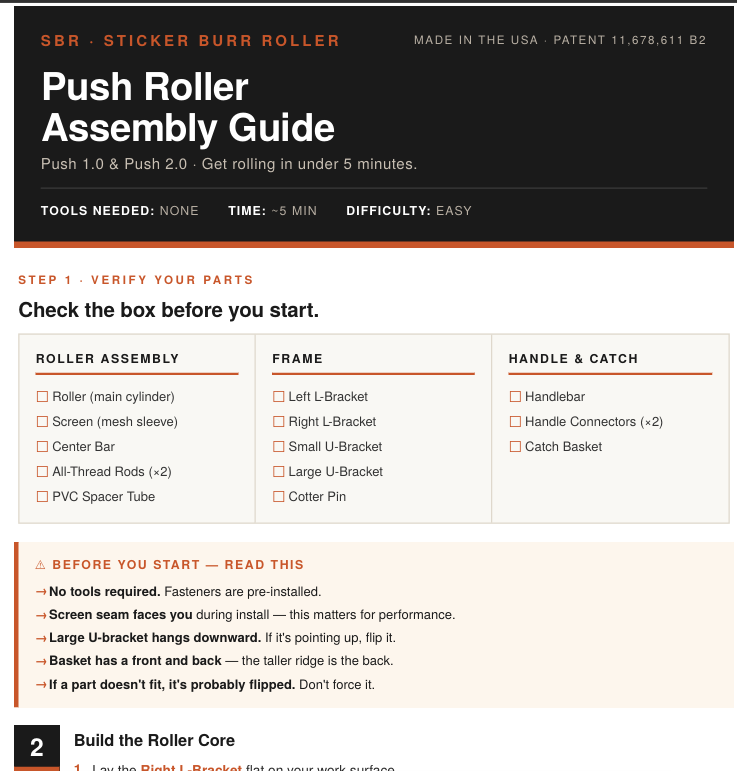
Assembly Guide - Push Model 1.0 + 2.0 PDF
$0.00
In stock. Typically arrives in 1 to 5 business days.
Will it work on my property?
Straight answers on ground type, grass depth, and what this model will not do.
Sticker Burr Roller Push Roller Assembly Guide
Download Here
https://drive.google.com/file/d/1rDHdf8xSLe6TzvjXn3D9Wa-nAinzahzW/view?usp=drive_link
Push 1.0 & Push 2.0
Made in the USA · Patent 11,678,611 B2
Get rolling in under 5 minutes.
Tools Needed
- None
Estimated Assembly Time
- Approximately 5 minutes
Difficulty
- Easy
Parts Included
- Roller (main cylinder)
- Screen (mesh sleeve)
- Center Bar
- All-Thread Rods (2)
- PVC Spacer Tube
- Left L-Bracket
- Right L-Bracket
- Small U-Bracket
- Large U-Bracket
- Cotter Pin
- Handlebar
- Handle Connectors (2)
- Catch Basket
Important Before You Start
- No tools are required. Fasteners come pre-installed.
- The screen seam must face toward you during installation for proper performance.
- The Large U-Bracket should hang downward. If it points upward, flip it over.
- The catch basket has a front and back. The taller ridge is the back.
- If a part does not fit easily, it is likely flipped the wrong direction. Do not force parts together.
- Do not wedge the PVC spacer tube into place. It should rest lightly against the roller.
Step 1 — Position the Right L-Bracket
- Lay the Right L-Bracket flat on your work surface.
- Position the Small U-Bracket beside the Right L-Bracket.
Step 2 — Attach the Center Bar
- Attach the Center Bar to the back of the Left L-Bracket.
Step 3 — Position the Roller
- Place the Roller onto the front of the Right L-Bracket.
Step 4 — Install the Screen and PVC Spacer
- Slide the Screen over the Roller with the seam facing toward you.
- Make sure the screen face is directed downward toward the Small U-Bracket.
- Rest the PVC Spacer Tube onto the Small U-Bracket so it lightly touches the Roller.
Important
- Do not force or wedge the PVC spacer into place.
Step 5 — Join the Frame
- Slide the Large U-Bracket and Left L-Bracket over the all-thread rods.
- Align all four connection points:
- Top
- Bottom
- Left side
- Right side
- Flip the unit over.
- Insert and secure the Cotter Pin.
Check Your Work
- Spin the Roller to ensure it turns smoothly without binding.
Step 6 — Assemble the Handle
- Attach the Handlebar to the first Handle Connector.
- Attach the second Handle Connector.
- You should now have all three handle pieces connected together.
- Attach the completed handle assembly to the frame.
If the Handle Does Not Fit
- The handle pieces may be directional.
- Swap sides and try again.
- Do not force the connection.
Step 7 — Install the Catch Basket
- Identify the back of the basket. The taller ridge indicates the back side.
- Position the basket onto the frame with the taller ridge facing the rear of the Roller.
- Press the basket firmly into place until secure.
Step 8 — Set the Screen Tension
- Use the tightening mechanism to tighten the screen evenly on both sides.
- Use the rear mechanism to loosen the screen if needed.
- Leave the screen slightly loose.
Important
- Do not overtighten the screen.
- The screen should not be drum-tight.
- Excessive tension reduces burr pickup performance and shortens screen life.
Final Assembly Checklist
Before use, confirm the following:
- Roller spins freely
- Screen is centered and properly seated
- Frame is aligned evenly on all sides
- Handle feels rigid and secure
- Basket is installed in the correct direction
- Screen tension is even and slightly loose
Pro Tips from the Shop
- If something does not fit correctly, rotate or flip the part before forcing it.
- The PVC spacer rests in place. It does not wedge into position.
- Always keep the screen seam facing toward you for best performance.
- Even screen tension on both sides helps extend mesh life.
Need Help?
We build every Sticker Burr Roller in Hildale, Utah, and we answer every message.
Website: stickerburrroller.com
Support Email: customersupport@stickerburrroller.com
PATENTED · US 11,678,611 B2
LIMITED LIFETIME WARRANTY
BUILT IN HILDALE, UTAH
Choose Your Roller
Push models for yards. Pull-behinds for acreage.
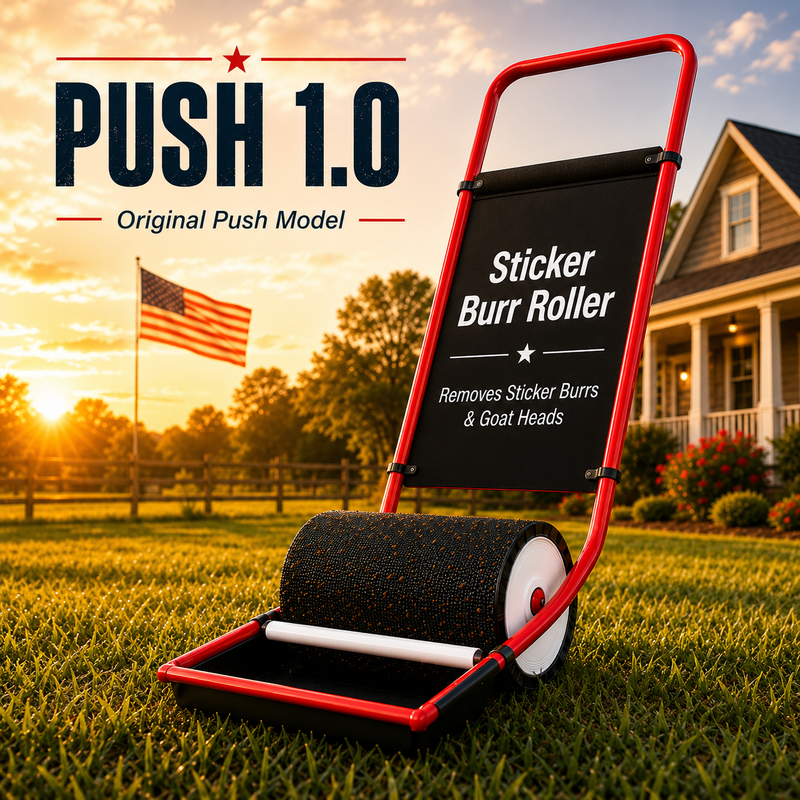
12-Inch Wide · 6-Inch Foam Roller
Push 1.0 Classic Burr Roller
Clear goat heads from patios, driveways, and small yards standing up.
- No bending, no gloves, no poked fingers
- FREE replacement screen in every box
- Every burr pulled stops up to 500 next year
- Best for: patios and yards up to 1/4 acre
$250.00$337.9926% OFF
In stock · ships from Utah in 1-5 days
or 4 interest-free payments of $62.50 with Shop Pay
Get the Classic
Lifetime Warranty · Made in USA · Satisfaction Guaranteed
Most Popular
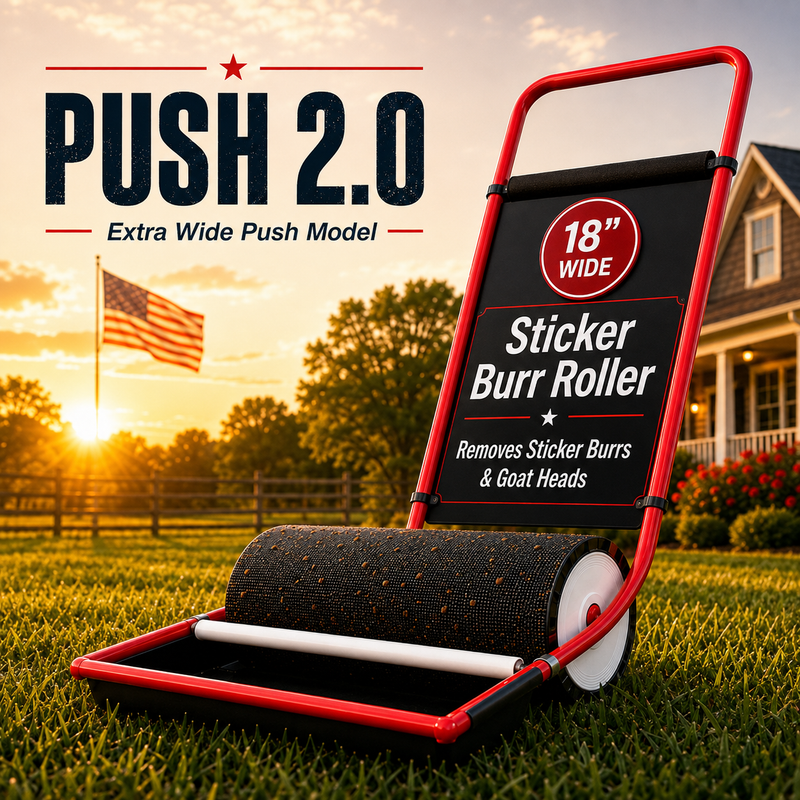
18-Inch Wide · 10-Inch Foam Roller
Push 2.0 XL Burr Roller
Twice the roller. Half the passes. Built for yards up to an acre.
- Clears the same yard in half the passes
- Assembly guide in the box, self-standing storage
- Heavy-duty steel, patented USA design
- Best for: big yards up to 1 acre
$317.76$440.0027% OFF
Preorder · ships in 2-3 weeks, then arrives in 1-3 days
or 4 interest-free payments of $79.44 with Shop Pay
Preorder the XL
Lifetime Warranty · Made in USA · Satisfaction Guaranteed
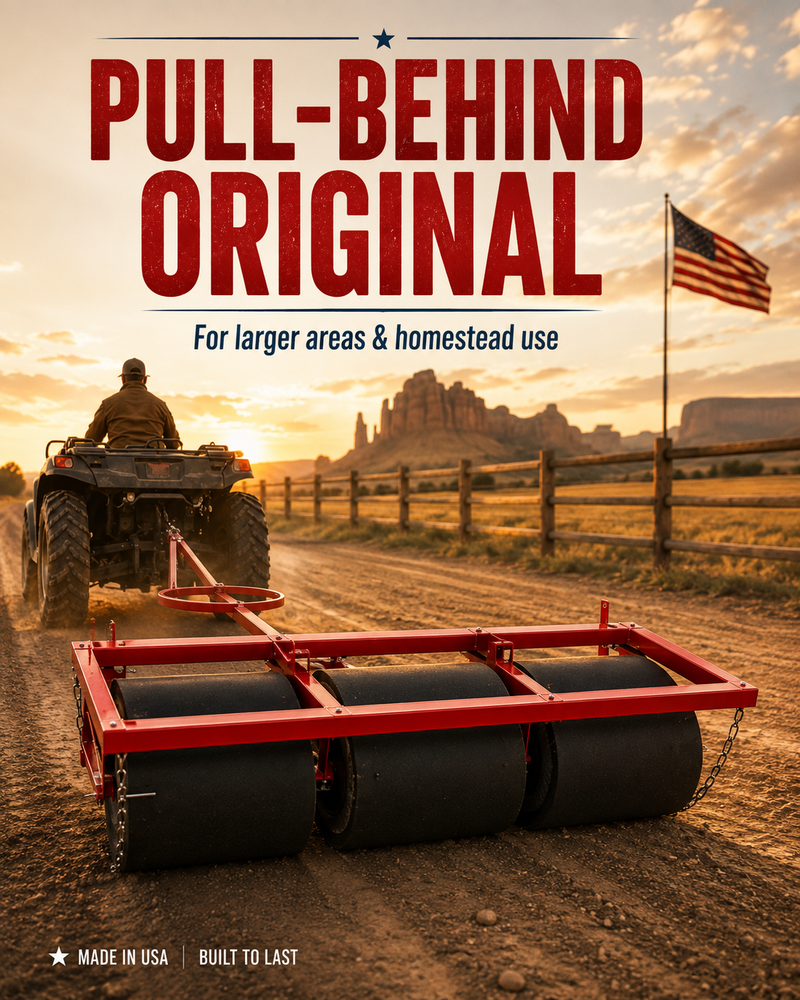
4-Ft Tow-Behind · 6-Inch Foam Roller · In Stock
Pull-Behind Original Burr Roller
Hook it to your ATV or mower and pull burrs out of acres at a slow crawl.
- Tows behind any ATV, UTV, or mower
- Chemical-free, safe for livestock and pets
- Connect multiple units, discount applies at checkout
- Best for: pastures and 1-5 acre properties
$1,447.97$1,780.0018% OFF
In stock · ships now from Utah
or 4 interest-free payments of $361.99 with Shop Pay
Get the Original
Lifetime Warranty · Made in USA · Satisfaction Guaranteed
Industrial Grade
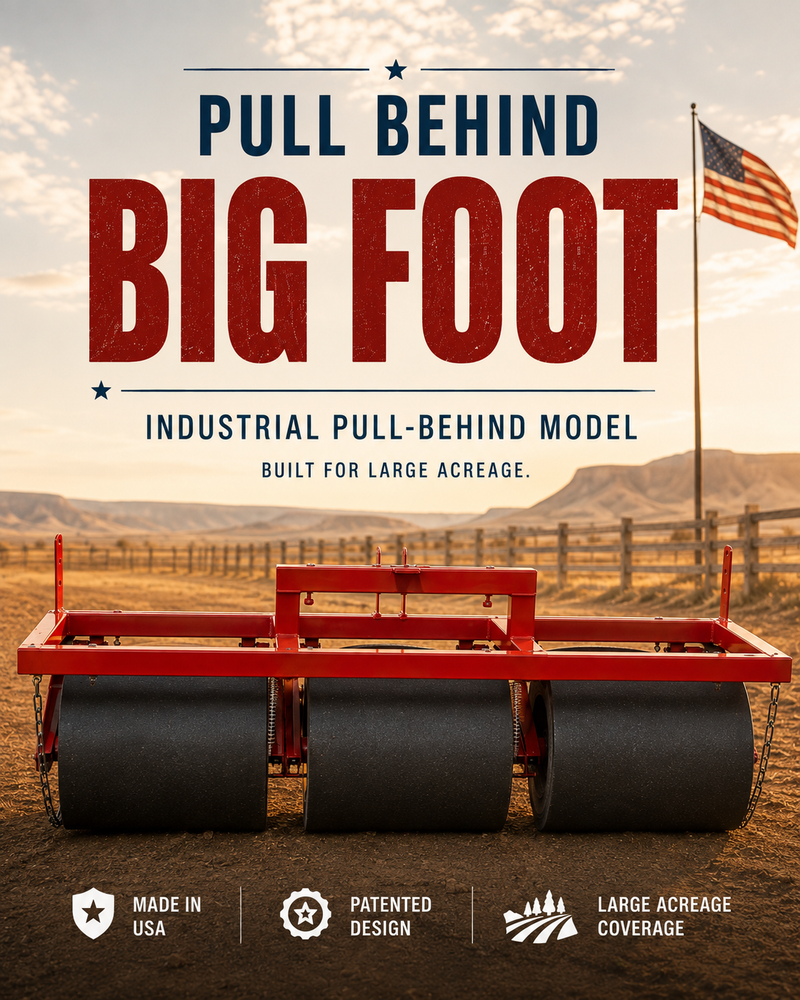
Tow-Behind · 10-Inch Foam Roller
Pull-Behind BIGFOOT Burr Roller
Ranch-grade pickup for the worst infestations on the most ground.
- 10-inch foam roller: maximum pickup per pass
- Chemical-free, safe for livestock and pets
- Connect multiple units, discount at checkout
- Order ahead of the Aug-Oct burr season
$1,776.00$2,250.0021% OFF
Preorder · ships in 2-3 weeks, then arrives in 1-5 days
or 4 interest-free payments of $444.00 with Shop Pay
Preorder BIGFOOT
Lifetime Warranty · Made in USA · Satisfaction Guaranteed
